2025
April 14, 2025
Supercharging Your Localization: Combining Your Framework (like i18next), Locize, AI, Automation, and Human Expertise
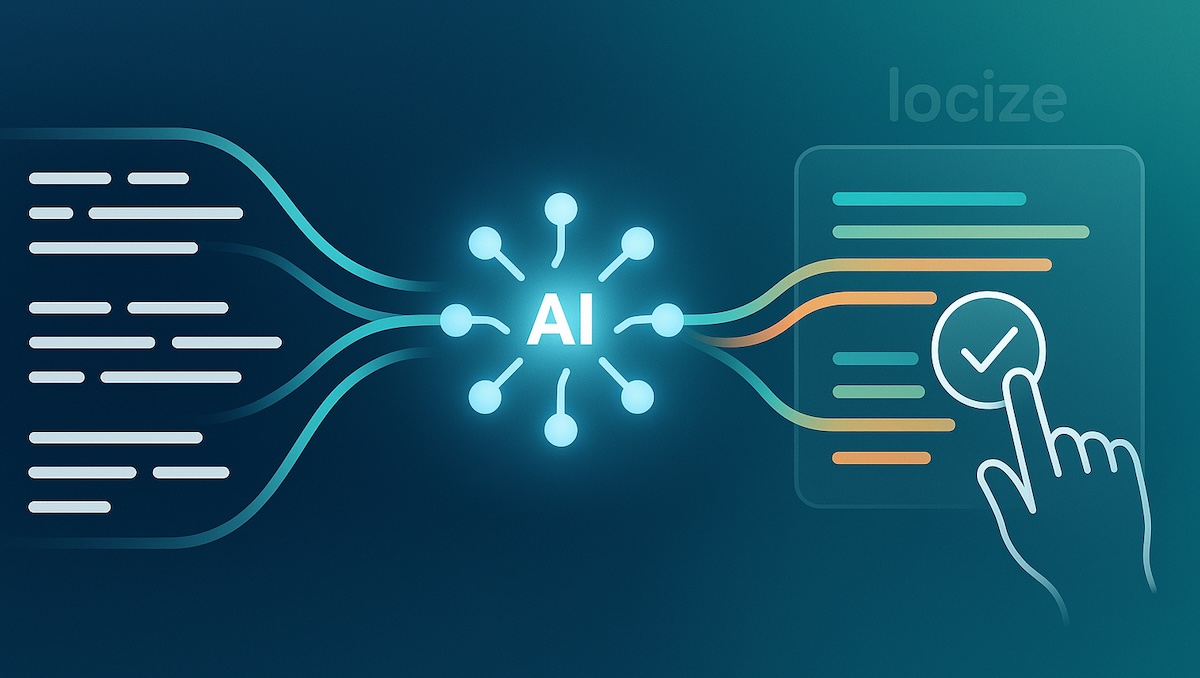
Supercharge your localization by combining your i18n setup with Locize, AI-powered translation, automation, and human review for a faster, high-quality, and scalable workflow.