Angular Localization - Unleash the full power of i18next
Let's talk about internationalization (i18n) for Angular (not AngularJS, not Angular 2, just Angular 😉).
When it comes to JavaScript localization, one of the most popular frameworks is i18next. One of the most famous Angular extension for i18next is angular-i18next. It was created back in April 2017 by Sergey Romanchuk.
TOC
So first of all: "Why i18next?"
i18next was created in late 2011. It's older than most of the libraries you will use nowadays, including your main frontend technology (React, Angular, Vue, ...).
➡️ sustainable
Based on how long i18next already is available open source, there is no real i18n case that could not be solved with i18next.
➡️ mature
i18next can be used in any javascript (and a few non-javascript - .net, elm, iOS, android, ruby, ...) environment, with any UI framework, with any i18n format, ... the possibilities are endless.
➡️ extensible
There is a plenty of features and possibilities you'll get with i18next compared to other regular i18n frameworks.
➡️ rich
Here you can find more information about why i18next is special and how it works.
Let's get into it...
Prerequisites
Make sure you have Node.js and npm installed. It's best, if you have some experience with simple HTML, JavaScript and basic Angular, before jumping to angular-i18next.
Getting started
Take your own Angular project or create a new one, i.e. with the Angular cli.
npx @angular/cli new my-app
To simplify let's remove the "generated" content of the angular-cli:

We are going to adapt the app to detect the language according to the user’s preference. And we will create a language switcher to make the content change between different languages.
Let's install some i18next dependencies:
npm install i18next angular-i18next i18next-browser-languagedetector
Let's modify our app.module.ts to integrate and initialize the i18next config:
import { APP_INITIALIZER, NgModule, LOCALE_ID } from '@angular/core';
import { BrowserModule } from '@angular/platform-browser';
import { I18NEXT_SERVICE, I18NextModule, I18NextLoadResult, ITranslationService, defaultInterpolationFormat  } from 'angular-i18next';
import LanguageDetector from 'i18next-browser-languagedetector';

import { AppComponent } from './app.component';

const i18nextOptions = {
  debug: true,
  fallbackLng: 'en',
  resources: {
    en: {/* Lines 110-118 omitted */}
  },
  interpolation: {
    format: I18NextModule.interpolationFormat(defaultInterpolationFormat)
  }
};

export function appInit(i18next: ITranslationService) {
  return () => {
    let promise: Promise<I18NextLoadResult> = i18next
      /* Lines 128-131 omitted */
    return promise;
  };
}

export function localeIdFactory(i18next: ITranslationService)  {
  return i18next.language;
}

export const I18N_PROVIDERS = [
  {
    provide: APP_INITIALIZER,
    /* Lines 142-144 omitted */
    multi: true
  },
  {
    provide: LOCALE_ID,
    /* Lines 148-149 omitted */
    useFactory: localeIdFactory
  },
];

@NgModule({
  declarations: [
    AppComponent
  ],
  imports: [
    BrowserModule,
    I18NextModule.forRoot()
  ],
  providers: [
    I18N_PROVIDERS
  ],
  bootstrap: [AppComponent]
})
export class AppModule { }
Ok, now let's update the app.component.html:
<!-- Toolbar -->
<div class="toolbar" role="banner">
  <span>{{ 'welcome' | i18next }}</span>
</div>

<div class="content" role="main">

  <!-- Highlight Card -->
  <div class="card highlight-card card-small">
    <span>{{ 'welcome' | i18next }}</span>
  </div>
</div>
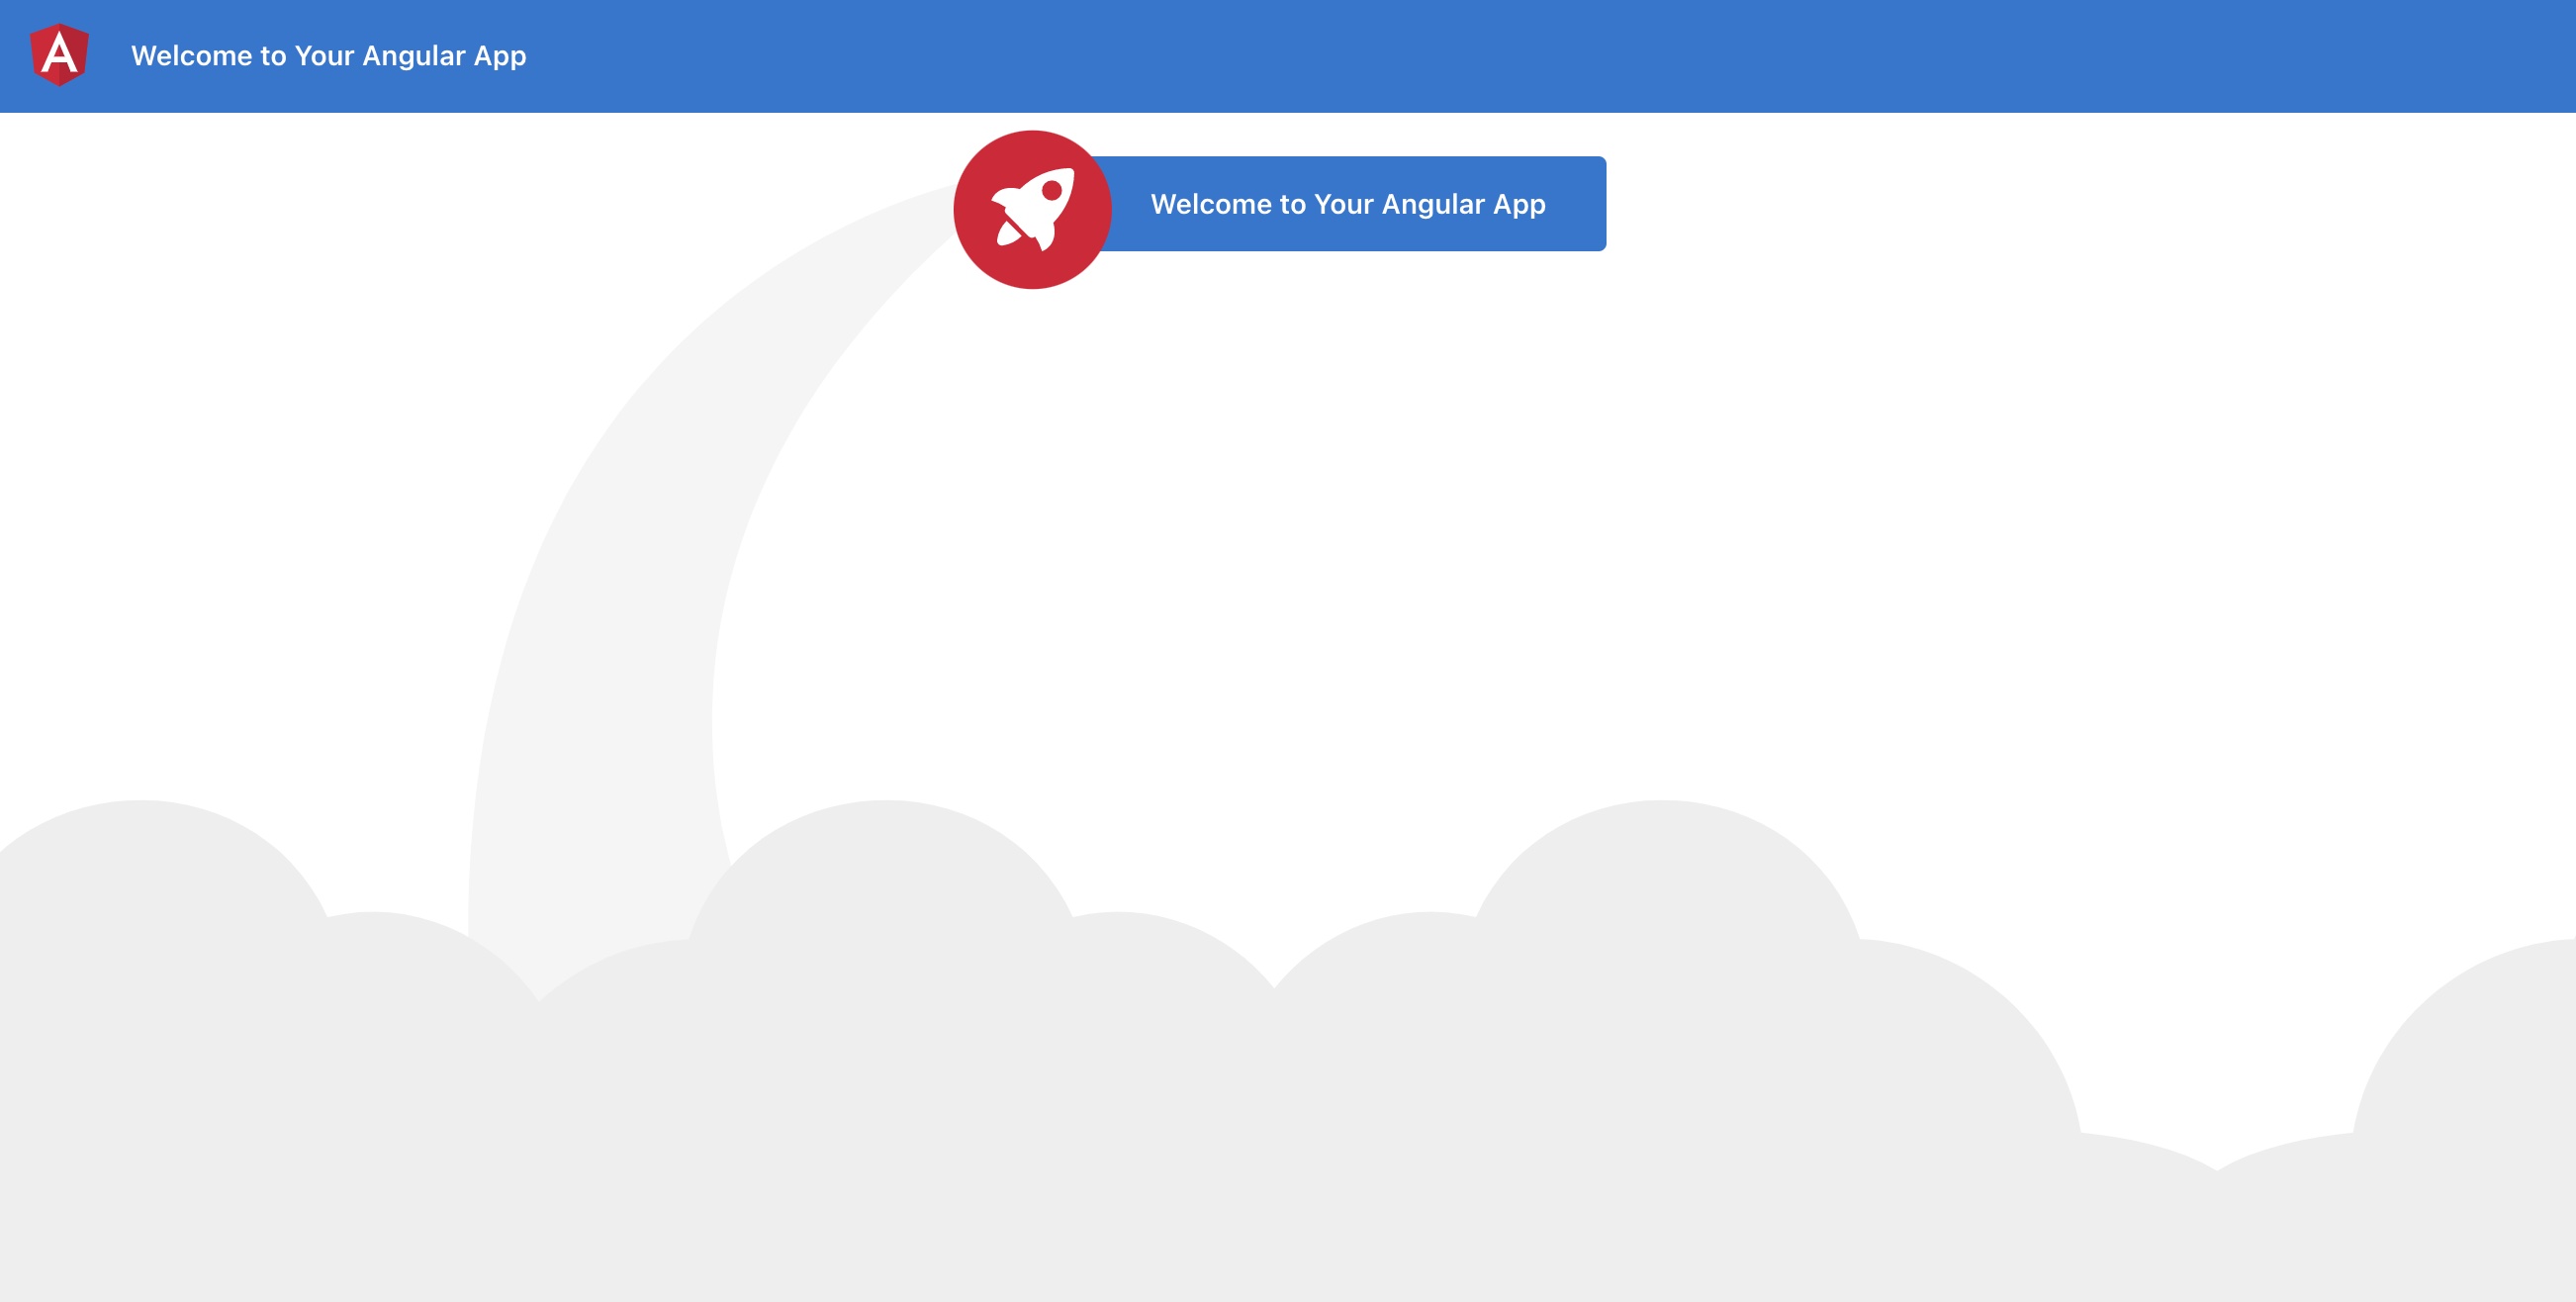
You should now see something like this:
Nice! So let's add an additional text, with an interpolated unescaped value:
<!-- Toolbar -->
<div class="toolbar" role="banner">
  <span>{{ 'welcome' | i18next }}</span>
</div>

<div class="content" role="main">

  <!-- Highlight Card -->
  <div class="card highlight-card card-small">
    <span>{{ 'welcome' | i18next }}</span>
  </div>

  <br />
  <p>{{ 'descr' | i18next: { url: 'https://github.com/Romanchuk/angular-i18next' } }}</p>
</div>
Do not forget to add the new key also to the resources:
const i18nextOptions = {
  debug: true,
  fallbackLng: 'en',
  resources: {
    en: {/* Lines 215-225 omitted */}
  },
  interpolation: {
    format: I18NextModule.interpolationFormat(defaultInterpolationFormat)
  }
};
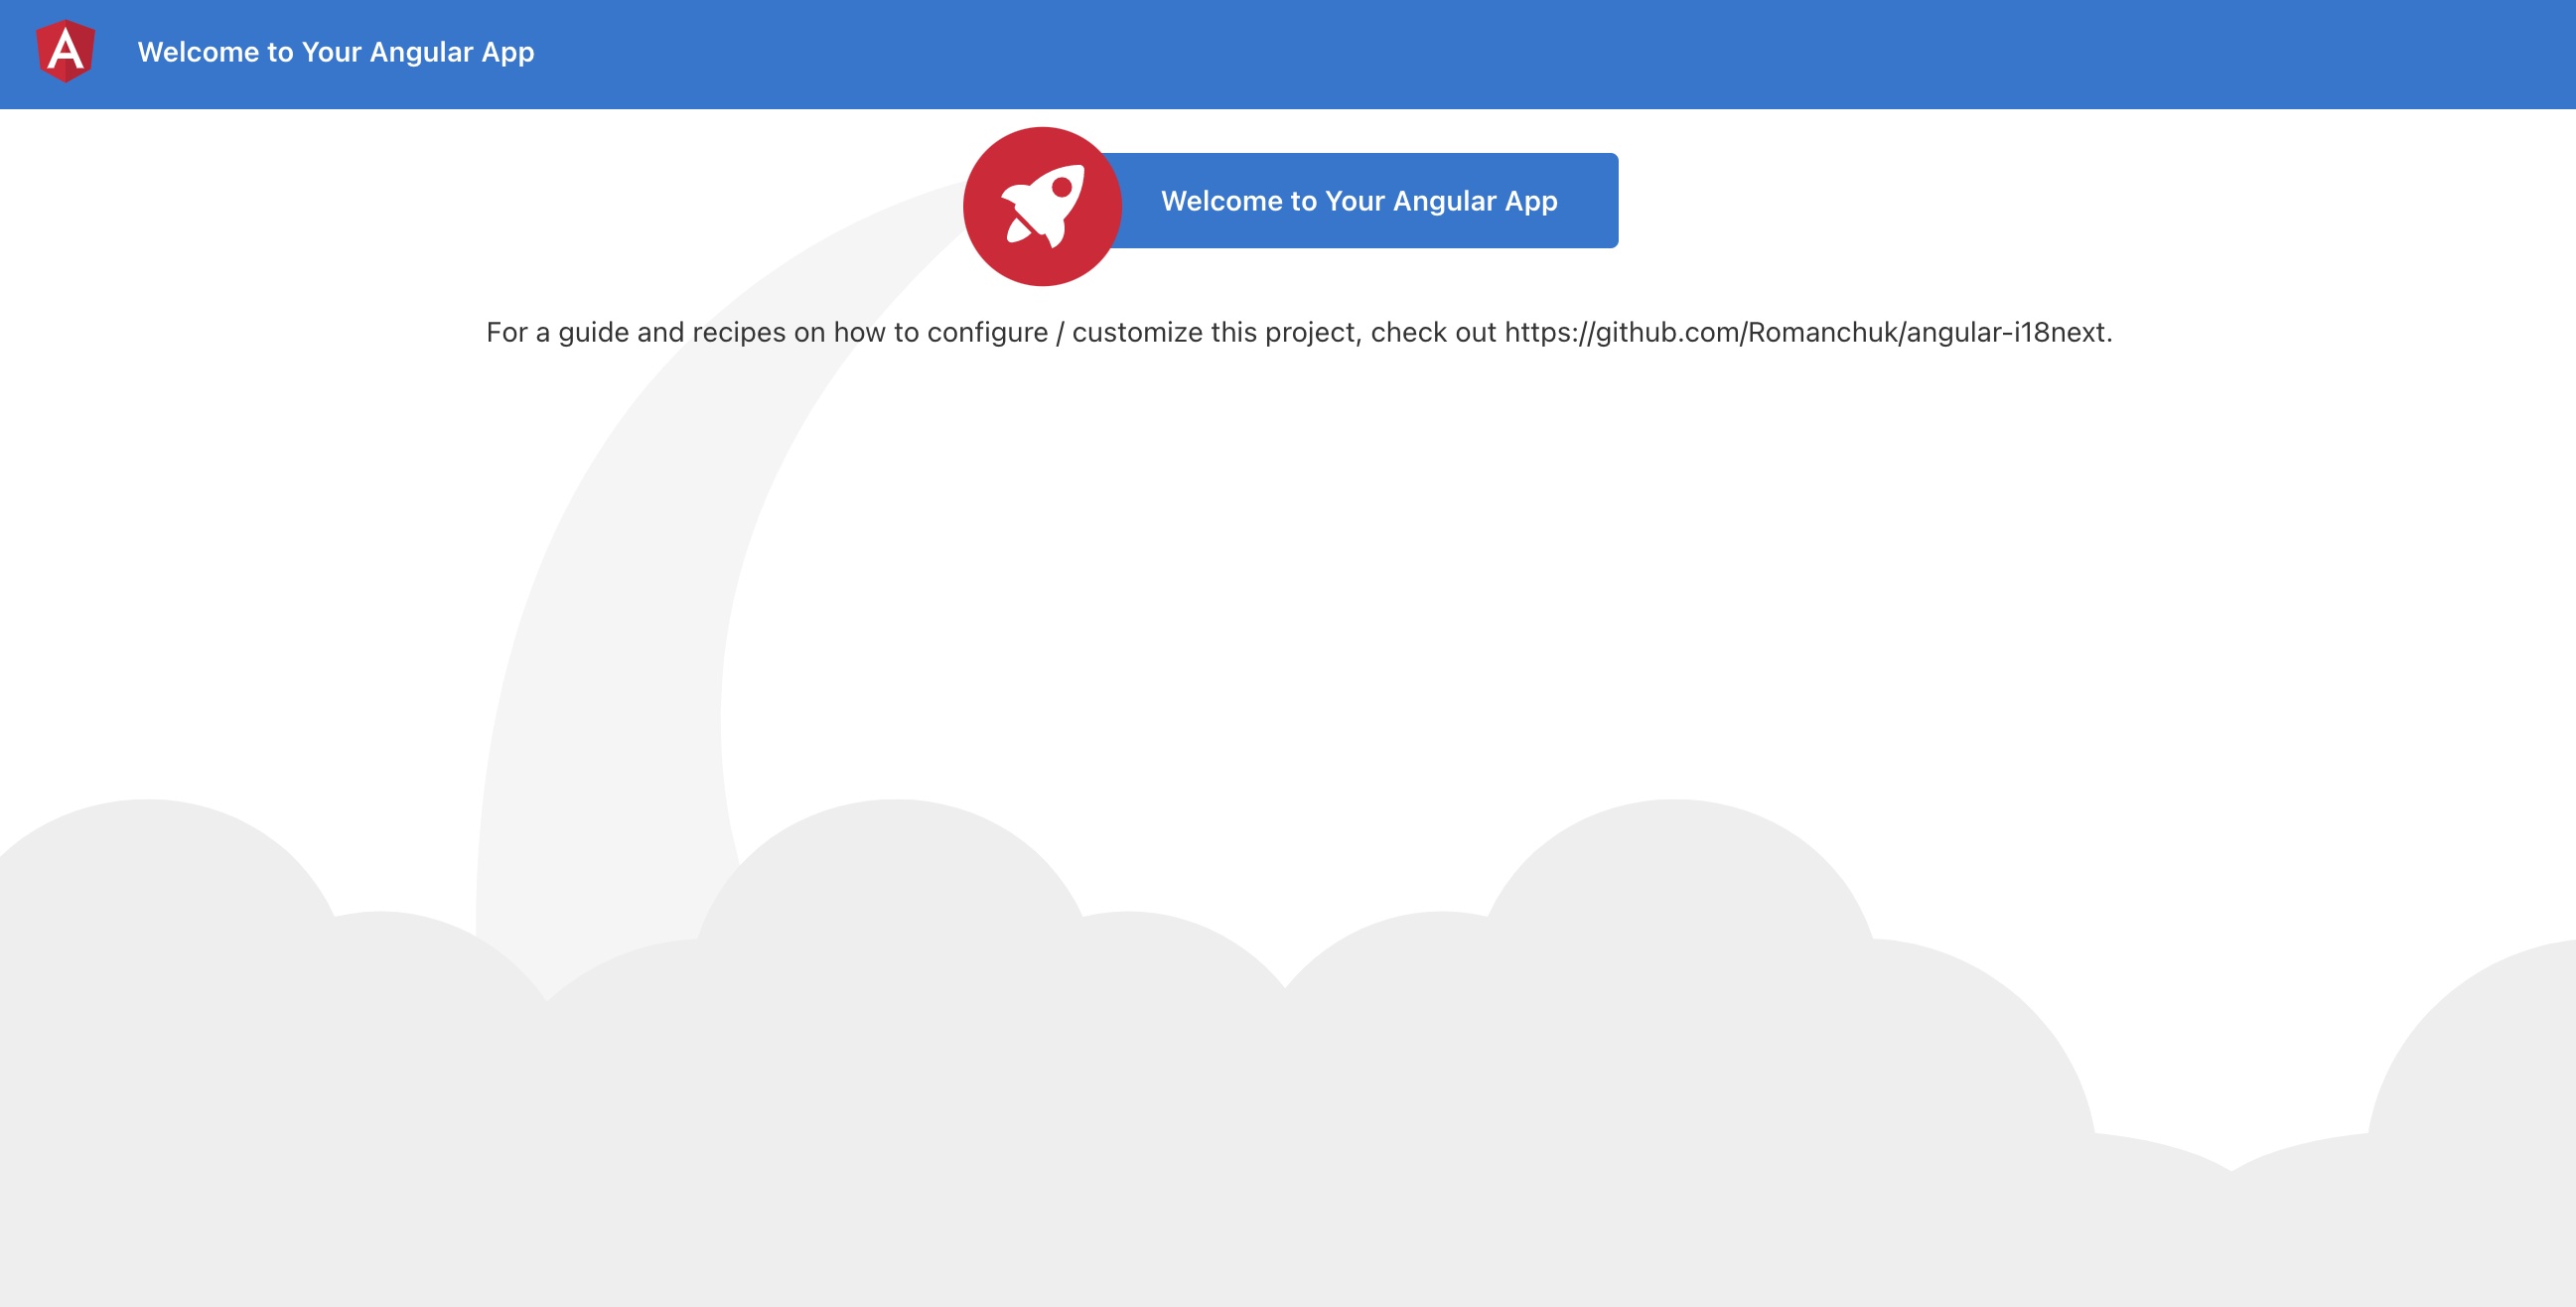
Does it work? - Of course!
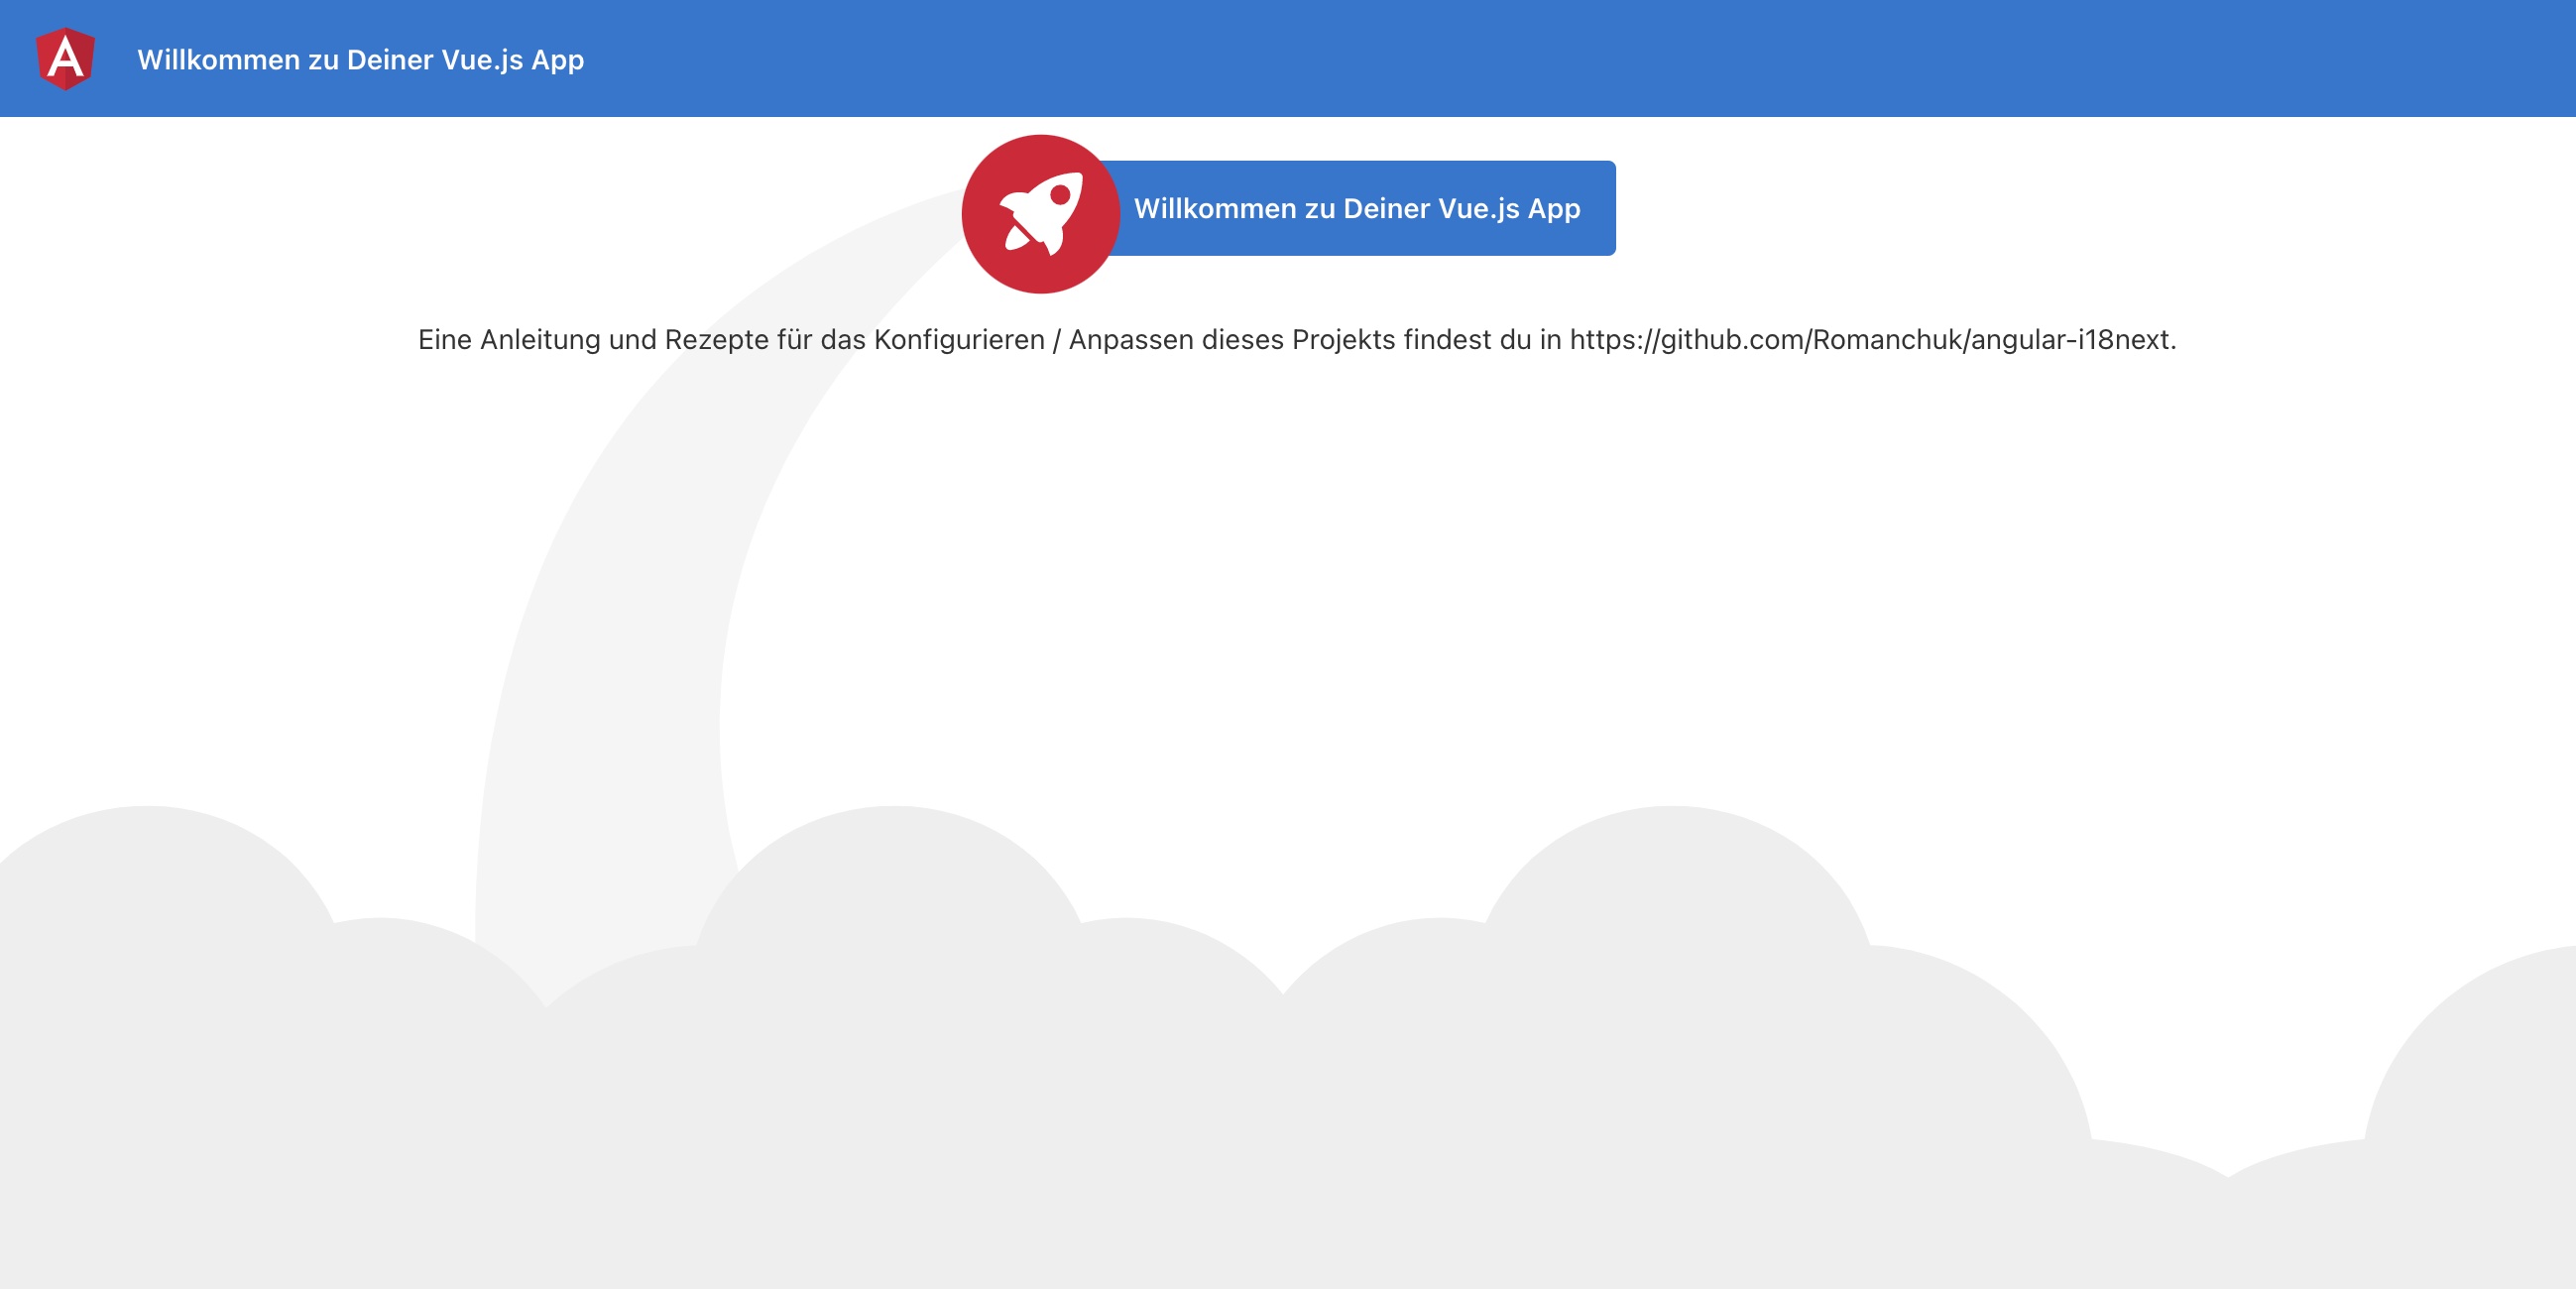
And thanks to the language-detector, you can also try to switch the language with the query parameter ?lng=de:
Language Switcher
We like to offer the possibility to change the language via some sort of language switcher.
So let's add a footer section in our app.component.html file:
<!-- Footer -->
<footer>
<ng-template ngFor let-lang [ngForOf]="languages" let-i="index">
<span *ngIf="i !== 0"> | </span>
/* Lines 251-252 omitted */
<span *ngIf="language === lang" class="current lang-item {{lang}}">{{ lang.toUpperCase() }}</span>
</ng-template>
</footer>And we need also to update the app.components.ts file:
import { Component, Inject } from '@angular/core';
import { I18NEXT_SERVICE, ITranslationService } from 'angular-i18next';

@Component({
  selector: 'app-root',
  templateUrl: './app.component.html',
  styleUrls: ['./app.component.less']
})
export class AppComponent {
  language: string = 'en';
  languages: string[] = ['en', 'de'];

  constructor(
    @Inject(I18NEXT_SERVICE) private i18NextService: ITranslationService
  )
  {}

  ngOnInit() {
    this.i18NextService.events.initialized.subscribe((e) => {/* Lines 278-281 omitted */});
  }

  changeLanguage(lang: string){
    if (lang !== this.i18NextService.language) {/* Lines 286-290 omitted */}
  }

  private updateState(lang: string) {
    this.language = lang;
  }
}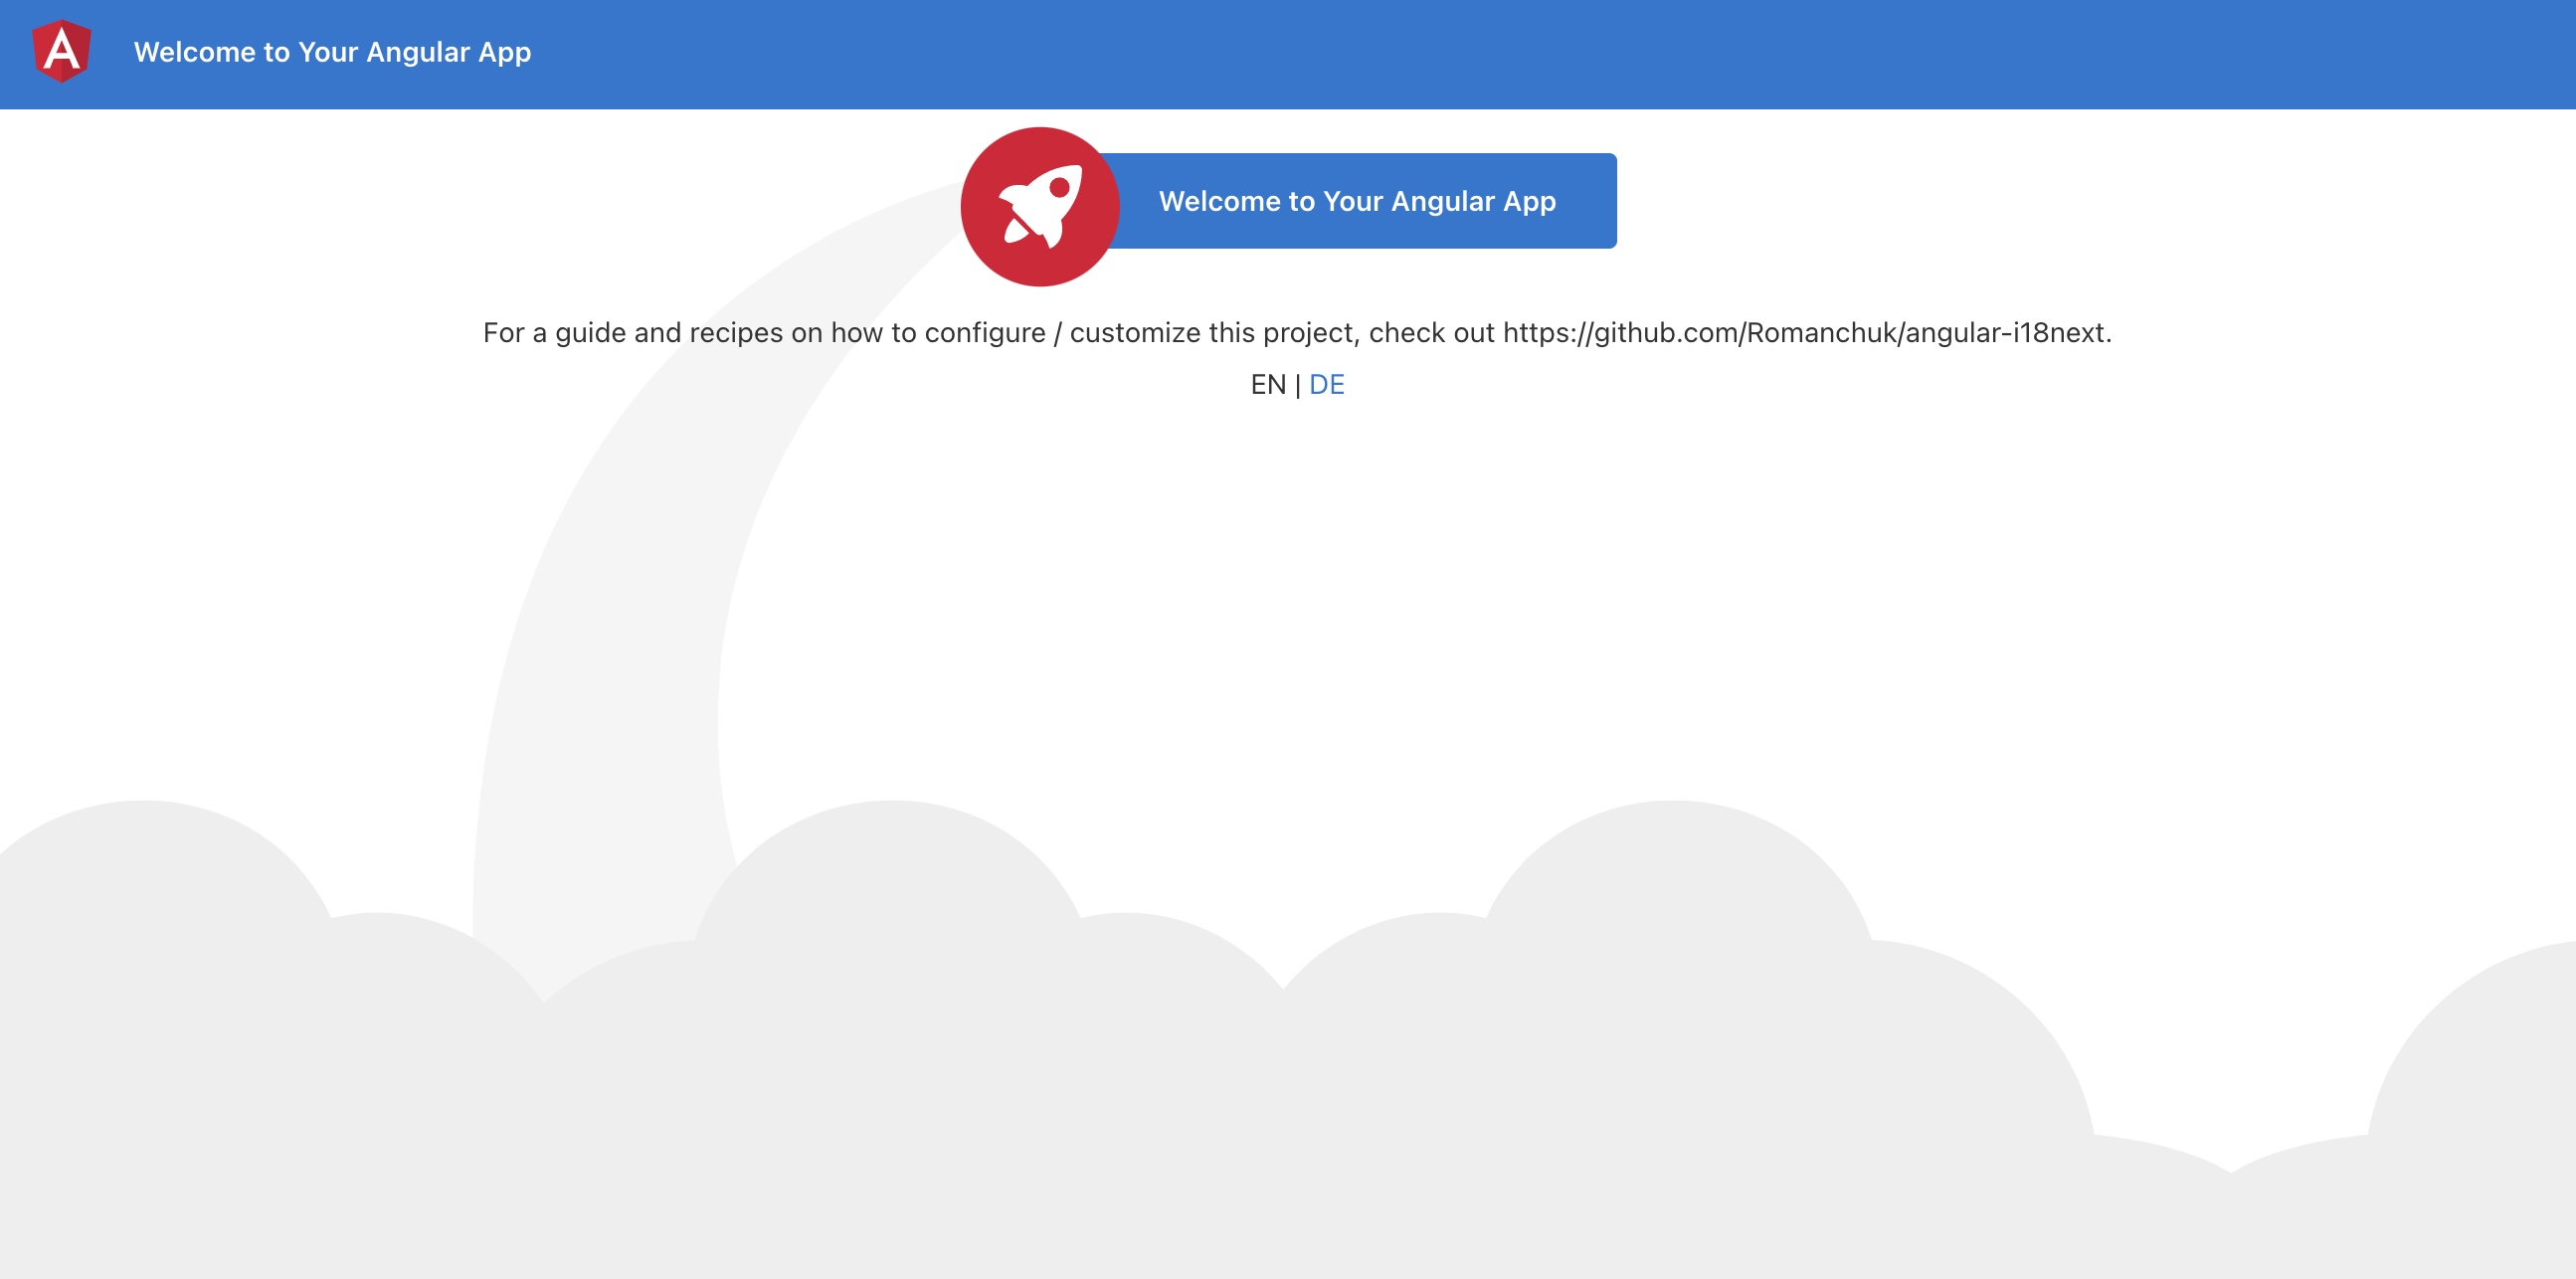
🥳 Awesome, you've just created your first language switcher!
Thanks to i18next-browser-languagedetector now it tries to detect the browser language and automatically use that language if you've provided the translations for it. The manually selected language in the language switcher is persisted in the localStorage, next time you visit the page, that language is used as preferred language.
Separate translations from code
Having the translations in our code works, but is not that suitable to work with, for translators. Let's separate the translations from the code and pleace them in dedicated json files.
i18next-locize-backend will help us to do so.
How does this look like?
First you need to signup at Locize and login. Then create a new project in Locize and add your translations. You can add your translations either by importing the individual json files or via API or by using the CLI.
npm install i18next-locize-backend
Adapt the app.modules.ts file to use the i18next-locize-backend and make sure you copy the project-id from within your Locize project:
import { APP_INITIALIZER, NgModule, LOCALE_ID } from '@angular/core';
import { BrowserModule } from '@angular/platform-browser';
import { I18NEXT_SERVICE, I18NextModule, I18NextLoadResult, ITranslationService, defaultInterpolationFormat  } from 'angular-i18next';
import LanguageDetector from 'i18next-browser-languagedetector';
import LocizeApi from 'i18next-locize-backend';

import { AppComponent } from './app.component';

const i18nextOptions = {
  debug: true,
  fallbackLng: 'en',
  /* Lines 336-341 omitted */
  }
};

export function appInit(i18next: ITranslationService) {
  return () => {/* Lines 346-351 omitted */};
}

export function localeIdFactory(i18next: ITranslationService)  {
  return i18next.language;
}

export const I18N_PROVIDERS = [
  {/* Lines 360-369 omitted */},
];

@NgModule({
  declarations: [
    /* Lines 374-383 omitted */
  bootstrap: [AppComponent]
})
export class AppModule { }
The app looks still the same, but the translations are now completely separated from the app and can be managed and released separately.

save missing translations
Thanks to the use of the saveMissing functionality, new keys gets added to Locize automatically, while developing the app.
Just pass saveMissing: true in the i18next options and make sure you copy the api-key from within your Locize project:
const i18nextOptions = {
  debug: true,
  /* Lines 401-409 omitted */
  }
};
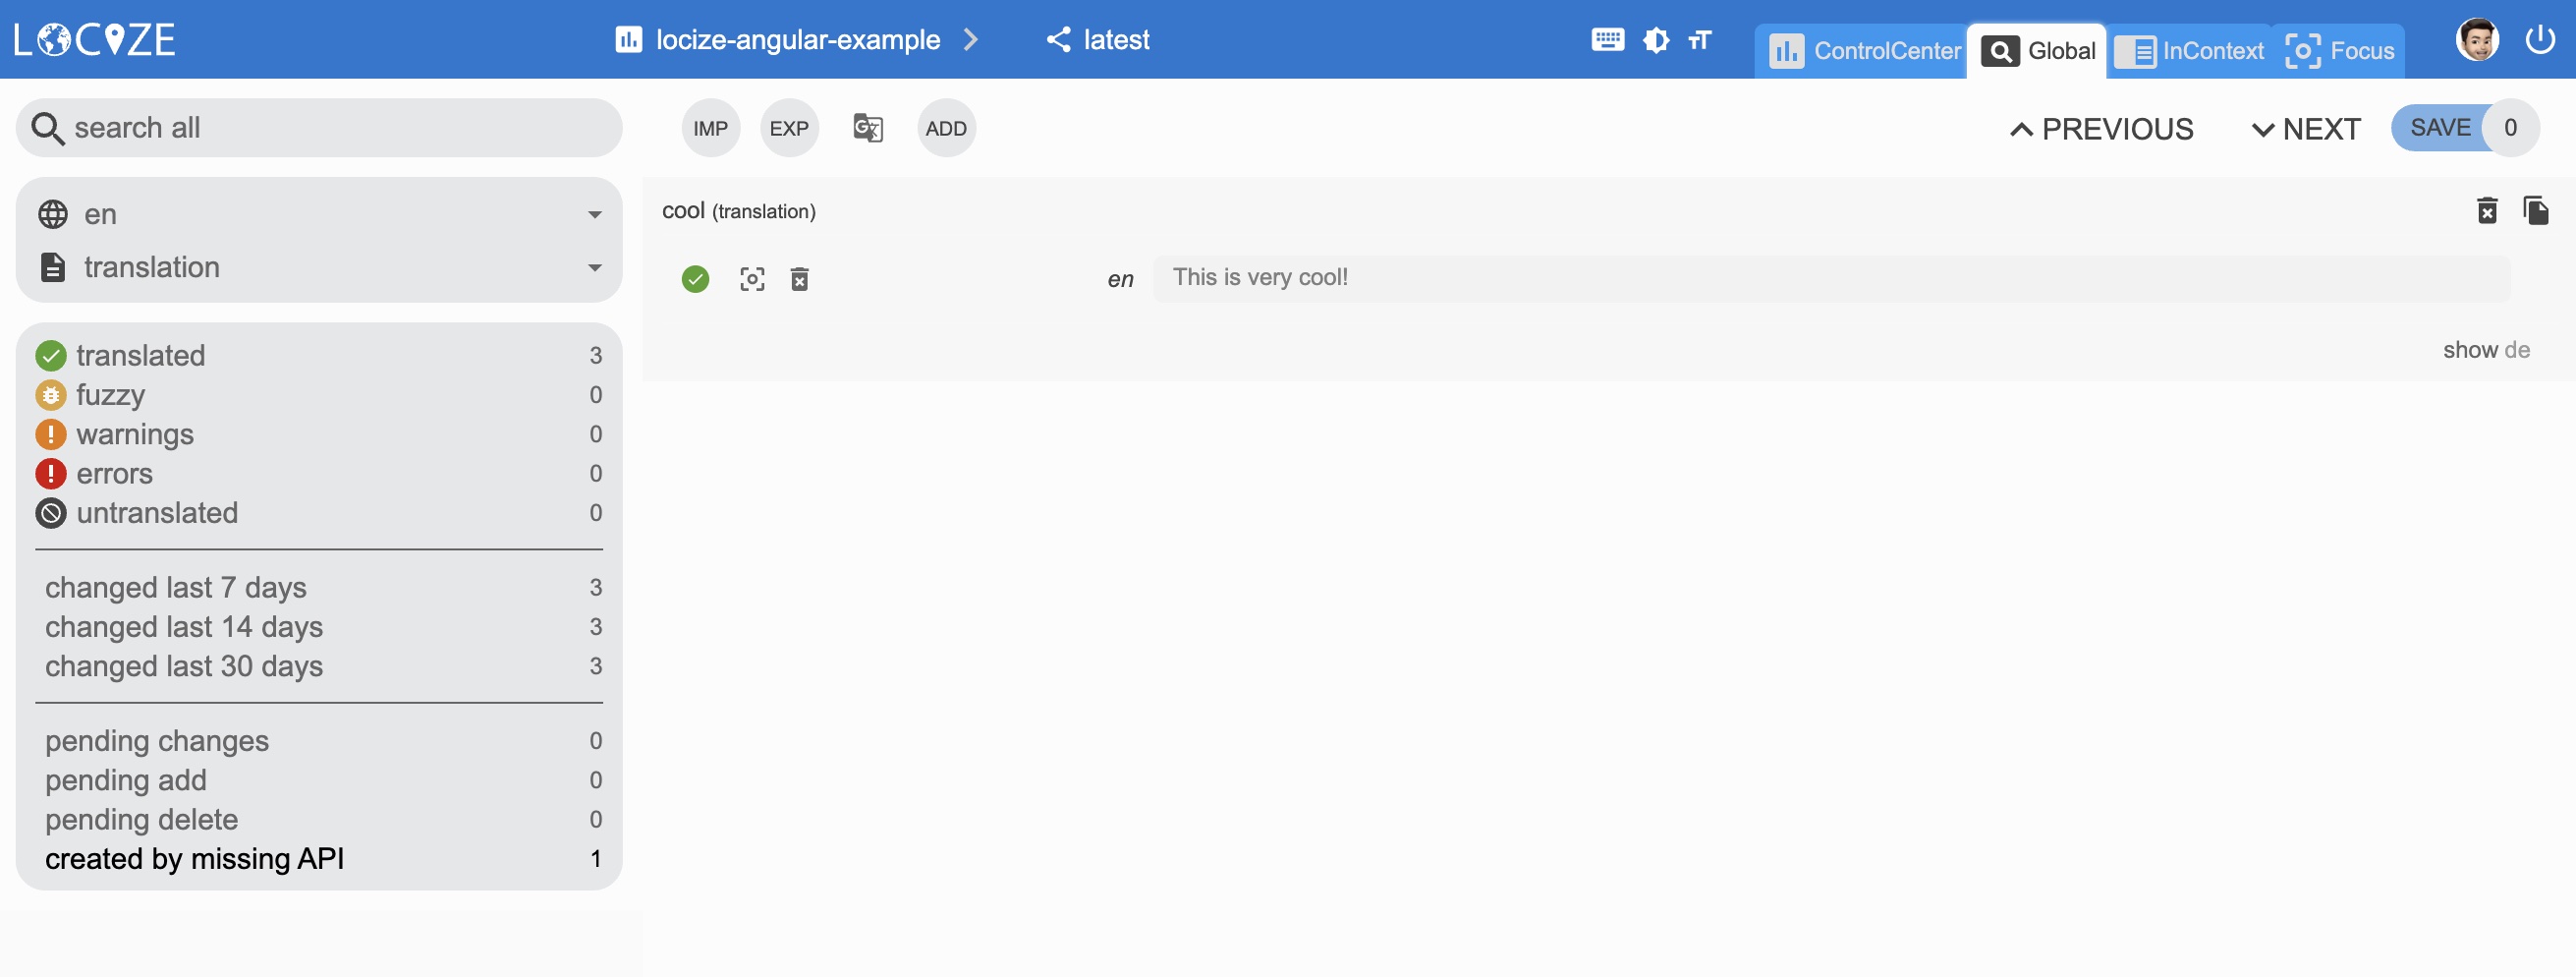
Each time you'll use a new key, it will be sent to Locize, i.e.:
<p>{{ 'cool' | i18next: { defaultValue: 'This is very cool!' } }}</p>will result in Locize like this:
👀 but there's more...
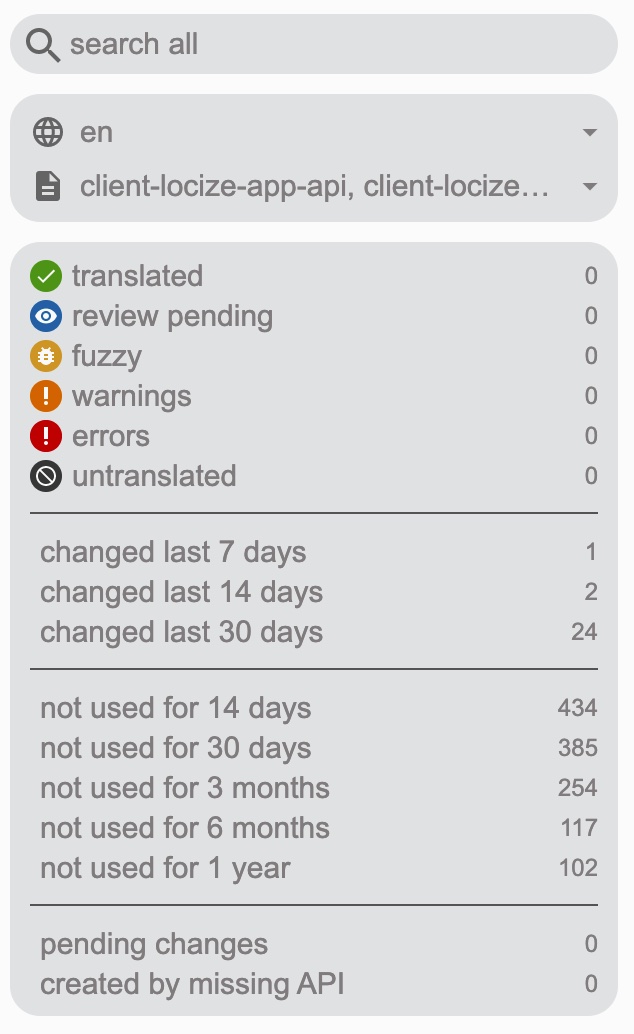
Thanks to the locize-lastused plugin, you'll be able to find and filter in Locize which keys are used or not used anymore.
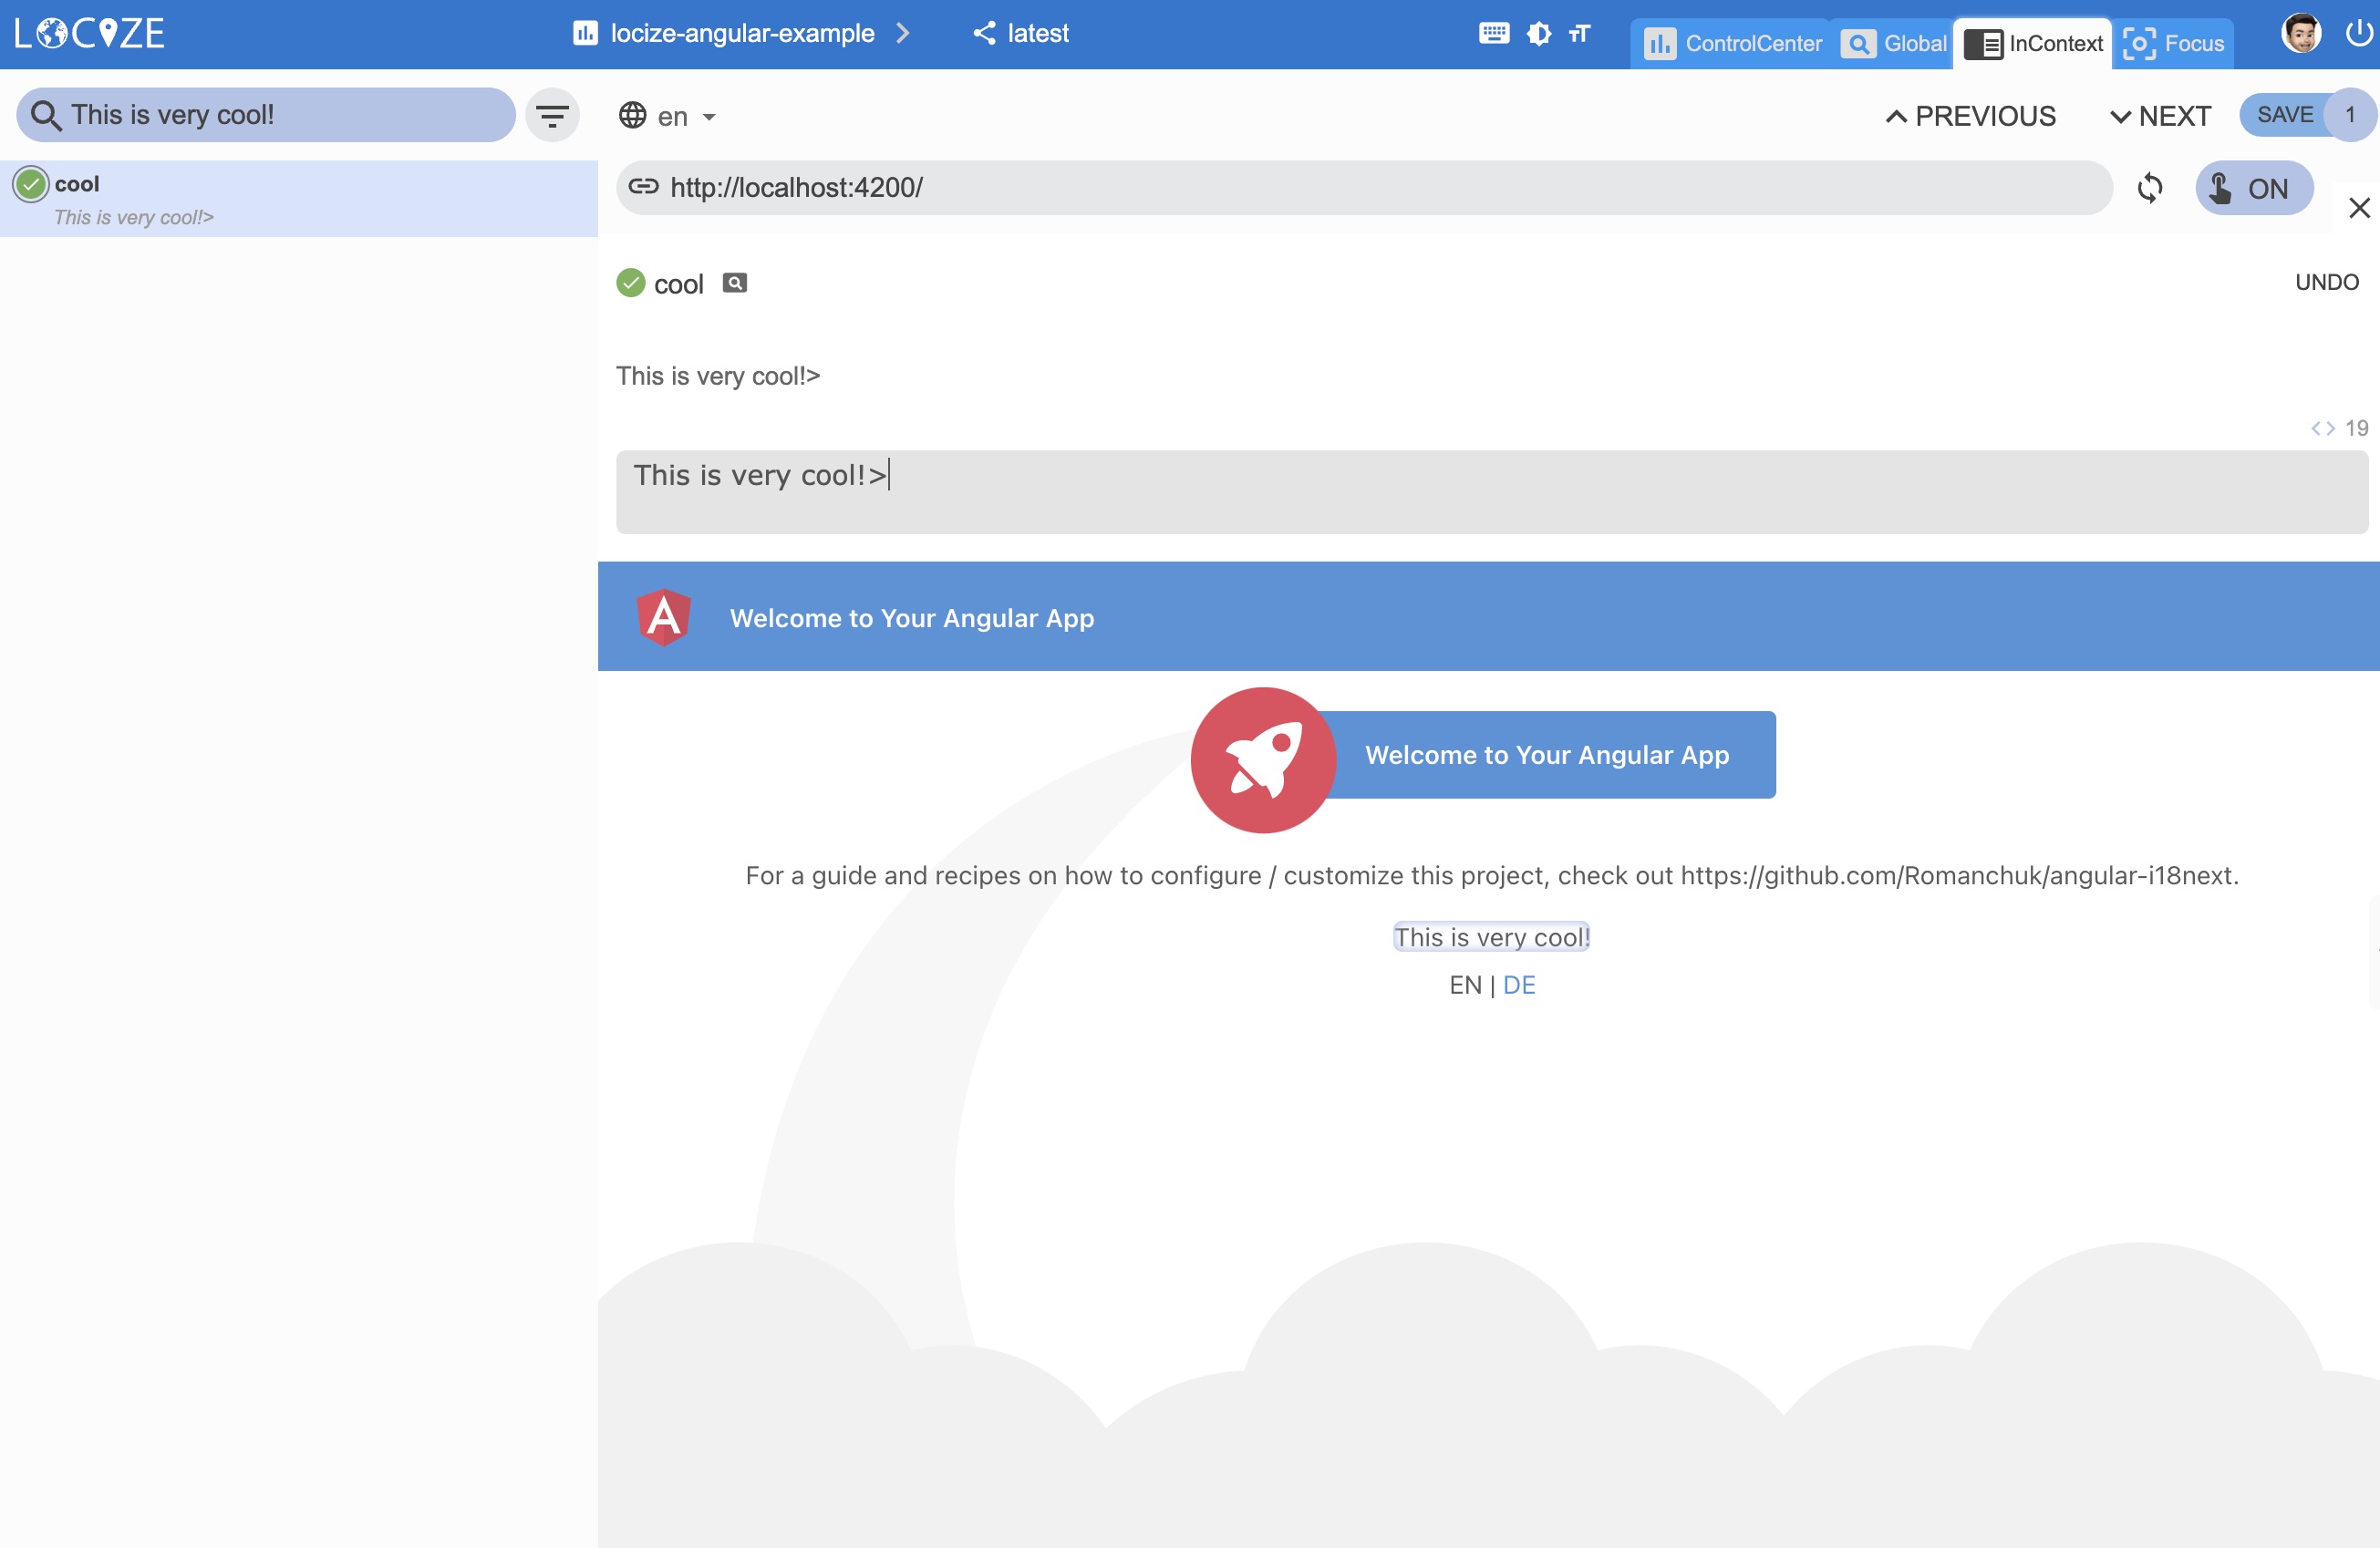
With the help of the Locize plugin, you'll be able to use your app within the Locize InContext Editor.
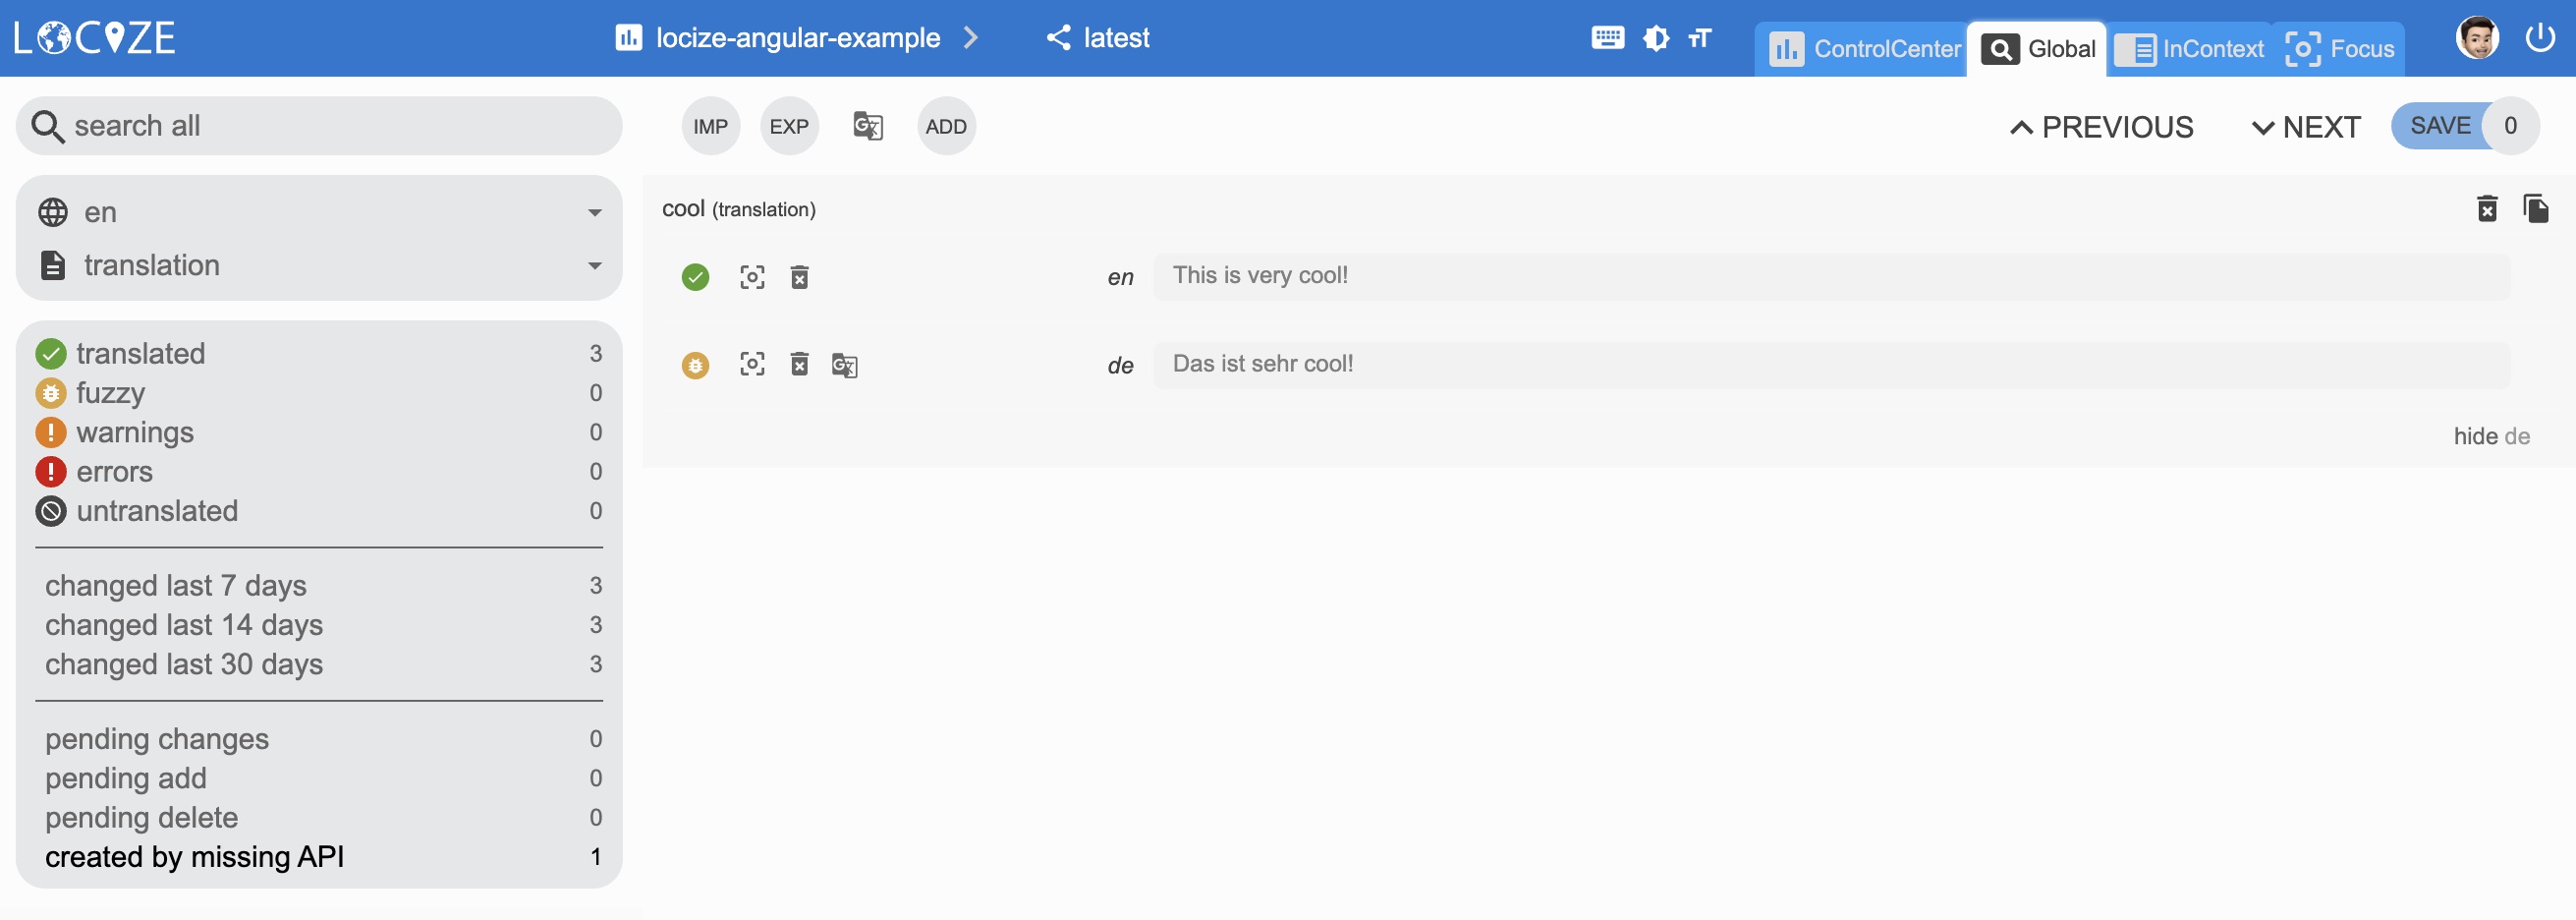
Lastly, with the help of the auto-machinetranslation workflow, new keys not only gets added to Locize automatically, while developing the app, but are also automatically translated into the target languages using machine translation:
npm install locize-lastused locize
use them in app.modules.ts:
import { APP_INITIALIZER, NgModule, LOCALE_ID } from '@angular/core';
import { BrowserModule } from '@angular/platform-browser';
import { I18NEXT_SERVICE, I18NextModule, I18NextLoadResult, ITranslationService, defaultInterpolationFormat  } from 'angular-i18next';
import LanguageDetector from 'i18next-browser-languagedetector';
import LocizeApi from 'i18next-locize-backend';
import LastUsed from 'locize-lastused';
import { locizePlugin } from 'locize';

import { AppComponent } from './app.component';

const locizeOptions = {
  projectId: 'my-locize-project-id',
  apiKey: 'my-api-key' // used for handleMissing functionality, do not add your api-key in a production buildyour
};

const i18nextOptions = {
  debug: true,
  /* Lines 455-461 omitted */
  }
};

export function appInit(i18next: ITranslationService) {
  return () => {/* Lines 466-483 omitted */};
}

export function localeIdFactory(i18next: ITranslationService)  {
  return i18next.language;
}

export const I18N_PROVIDERS = [
  {/* Lines 492-501 omitted */},
];

@NgModule({
  declarations: [
    /* Lines 506-515 omitted */
  bootstrap: [AppComponent]
})
export class AppModule { }
Automatic machine translation:

Last used translations filter:
🧑💻 The complete code can be found here.
There's also an i18next crash course video.
🎉🥳 Congratulations 🎊🎁
I hope you’ve learned a few new things about i18next, angular-i18next and modern localization workflows.
So if you want to take your i18n topic to the next level, it's worth to try Locize.
The founders of Locize are also the creators of i18next. So by using Locize you directly support the future of i18next.
